Setting up Locations
Setting up Locations
Before you start using the Merchant Hub and create your first Payment Request, you need to configure your personal account. This setup ensures smooth platform usage and helps your Customers receive clear, informative Payment Requests.
When you sign up for the Merchant Hub and create your account, the system automatically sets up a Default Payment Request Channel and Default Location.
Initial Setup Steps
- Navigate to Locations tab and select Create Location.
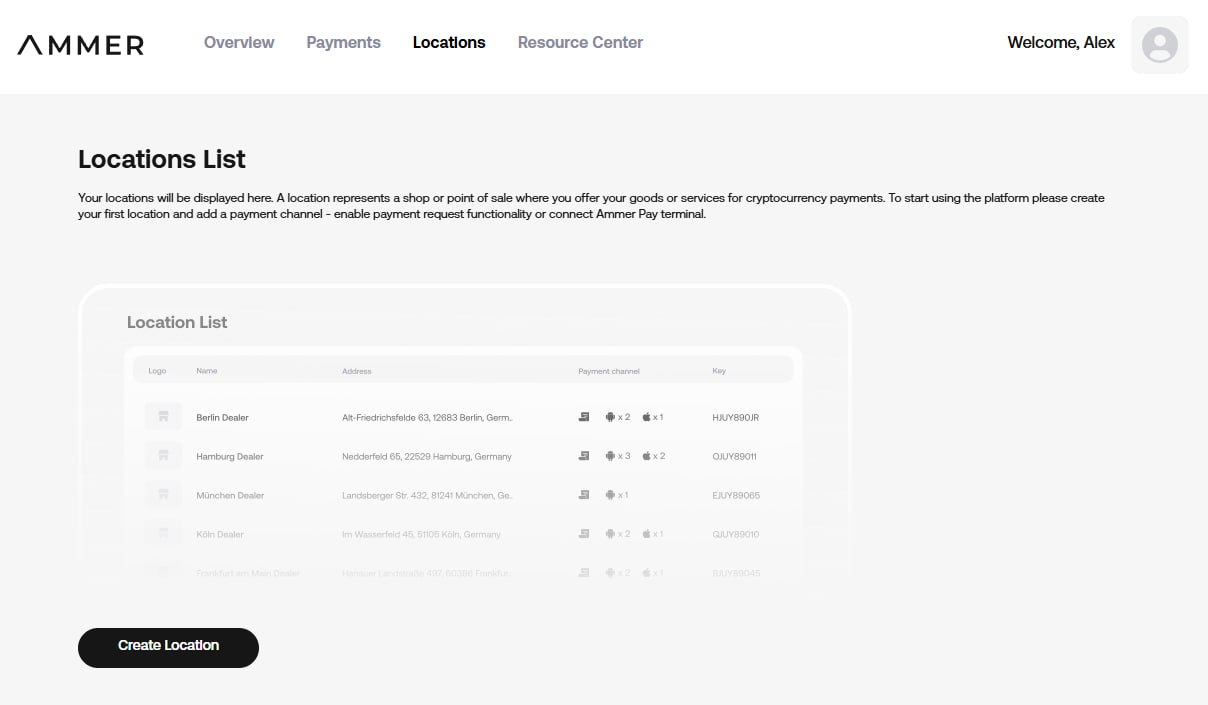
-
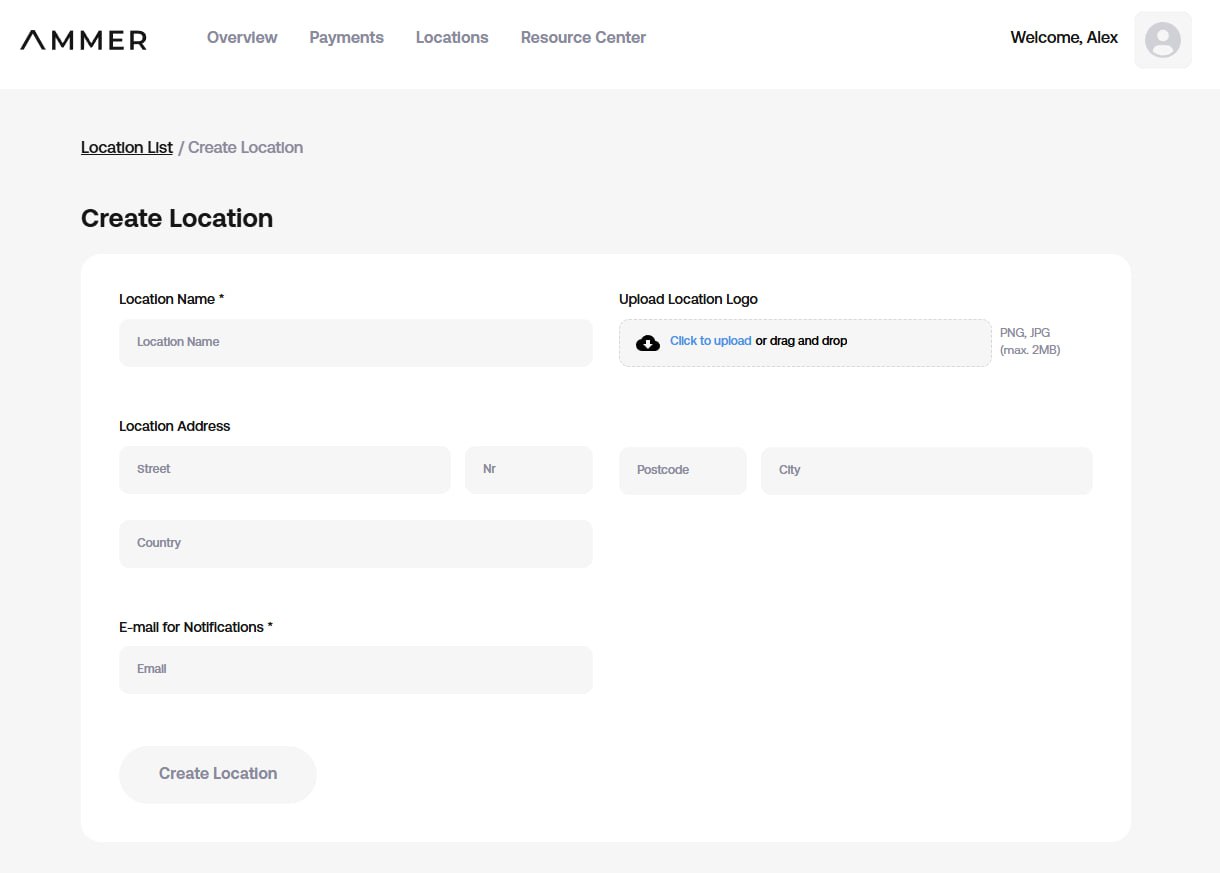
Fill in your main location details: Location name, physical address and email address.
Important: For the Location Name, use your complete business name that your Customer can easily recognize. This name will appear in the header of Payment Request sent via email.
You have the option to add your company logo for better brand visibility and recognition.
Since this information will be automatically included in all payment requests, please verify all details carefully. While you can modify these settings later if needed, it’s best to ensure accuracy from the start.
Following the above recommendations, add the rest of the Locations using the button Create Location at the top right.
